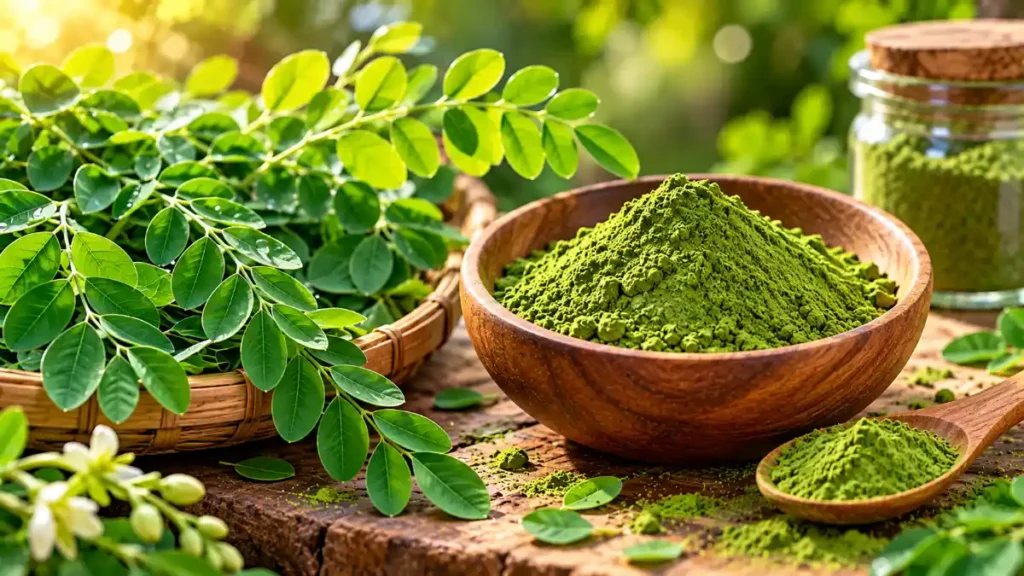
If you want to learn how to make moringa powder at home, the process is quite simple. You mainly need fresh moringa leaves, proper cleaning, thorough drying and a good grinder. The most important part is removing enough moisture from the leaves before grinding them.
In this guide, you will learn how to make moringa powder step by step, from selecting and cleaning fresh leaves to drying, grinding, sieving and storing the finished powder. The goal is to make a clean, dry and easy-to-use homemade moringa leaf powder without making the process unnecessarily complicated.
Table of Contents
What You Need to Make Moringa Powder
Before you make moringa powder, gather everything you need so the process can move smoothly from fresh leaves to the finished powder.
You will need:
- Fresh moringa leaves
- Clean water
- A clean tray or cloth for drying
- A dehydrator, oven or suitable drying space
- A mixer grinder or spice grinder
- A fine sieve
- A completely dry, airtight container
You do not need any complicated equipment to make moringa powder at home. The drying method can be changed according to the equipment and conditions available in your kitchen.
Choosing Fresh Moringa Leaves
The quality of the leaves matters when you make moringa powder at home. Choose fresh, healthy-looking moringa leaves that are free from visible insects, mold, excessive dirt or damaged portions.
Younger and tender leaves are commonly preferred because they are easier to handle and generally produce a finer powder after drying. Avoid leaves that already look wilted, yellowed or spoiled.
If you are collecting leaves directly from a moringa tree, make sure the leaves come from a clean area away from obvious sources of contamination.
How to Clean Moringa Leaves
Before you make moringa powder, the leaves should be cleaned properly to remove dirt and unwanted particles.
Step 1: Separate the Leaves
Remove thick stems, damaged leaves and any unwanted plant material.
You do not have to remove every tiny stem individually, but large or tough stems are better removed before drying and grinding.
Step 2: Rinse the Leaves
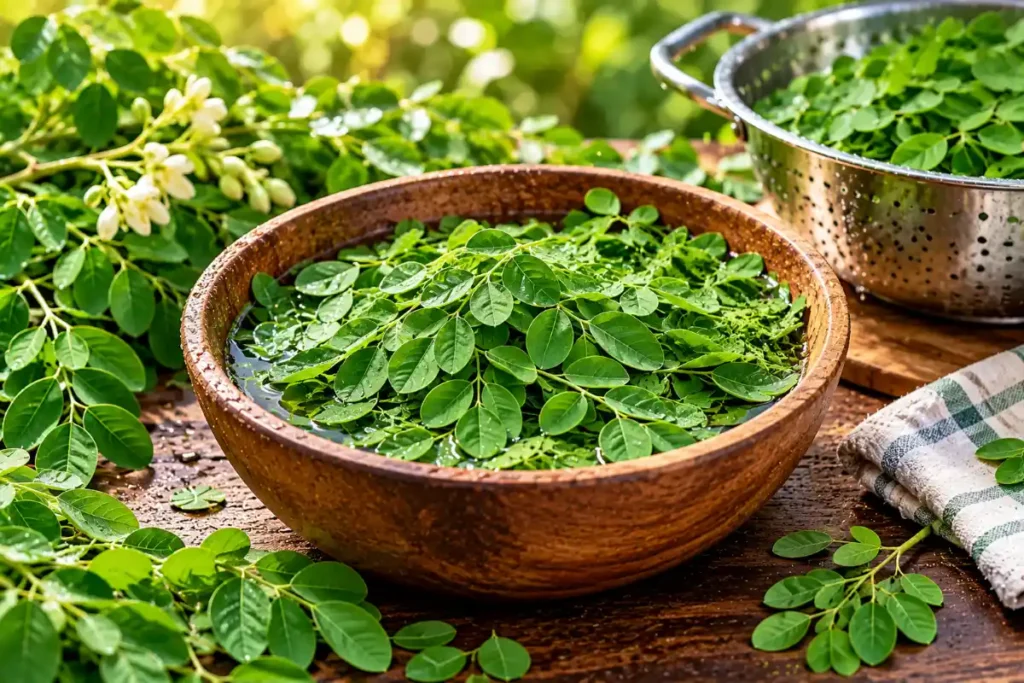
Wash the leaves under clean, cool running water to remove visible dirt and debris.
Step 3: Remove Excess Water
Spread the leaves on a clean towel or cloth and gently pat or shake off excess water.
Do not start the drying process while the leaves are still dripping wet.
NCHFP guidance for drying herbs similarly recommends rinsing under cool water and removing excess moisture before drying.
How to Prepare Moringa Leaves for Drying
Once the leaves are clean, spread them in a single layer on a clean, dry tray or cloth.
Avoid piling the leaves on top of one another. Good air circulation helps moisture leave the leaves more evenly and makes the drying process easier.
Proper preparation is important because make moringa powder is not simply a matter of grinding fresh leaves. The leaves need to be dried thoroughly first so that the finished powder does not retain unnecessary moisture.
Good air circulation is one of the basic principles of successful food drying. USU Extension recommends arranging food so that air can circulate around the product during drying. Utah State University Extension’s home drying guidance also emphasizes good air circulation and arranging food in a single layer during drying.
Utah State University Extension’s home drying guidance
How to Dry Moringa Leaves
There is more than one way to dry moringa leaves at home. For general guidance on drying leafy herbs, the National Center for Home Food Preservation (NCHFP) recommends warm, dry air, good ventilation and checking the leaves until they become crisp and crumble easily.
National Center for Home Food Preservation (NCHFP)
The most practical options are:
- Indoor air or shade drying
- Dehydrator drying
- Controlled oven drying
The method you choose will depend on your climate, humidity, equipment and the amount of leaves you are preparing.
Research on moringa leaves has found that different drying methods can affect their phytochemical composition and antioxidant properties, so drying method does matter. That does not mean one home method is universally “best,” but it is another reason to avoid excessive heat and unnecessary prolonged exposure.
Method 1: Air or Shade Drying
Air drying is the simplest method if you have a clean, dry and well-ventilated place.
Spread the leaves in a thin layer on a clean tray or drying surface and keep them away from direct sunlight.
Turn or rearrange them when needed so that moisture can escape evenly.
This method may work well in dry weather, but it can become slow in humid conditions.
NCHFP recommends warm, dry air and good ventilation for drying herbs and notes that direct sun is not recommended for herbs because it can affect colour and flavour.
When Is Air Drying Less Suitable?
If the weather is very humid or the leaves remain damp for a long time, air drying may not be the best choice.
In such conditions, a dehydrator gives you much better control over temperature and airflow.
Method 2: Drying Moringa Leaves in a Dehydrator
A dehydrator is one of the easiest options when you want more consistent results.
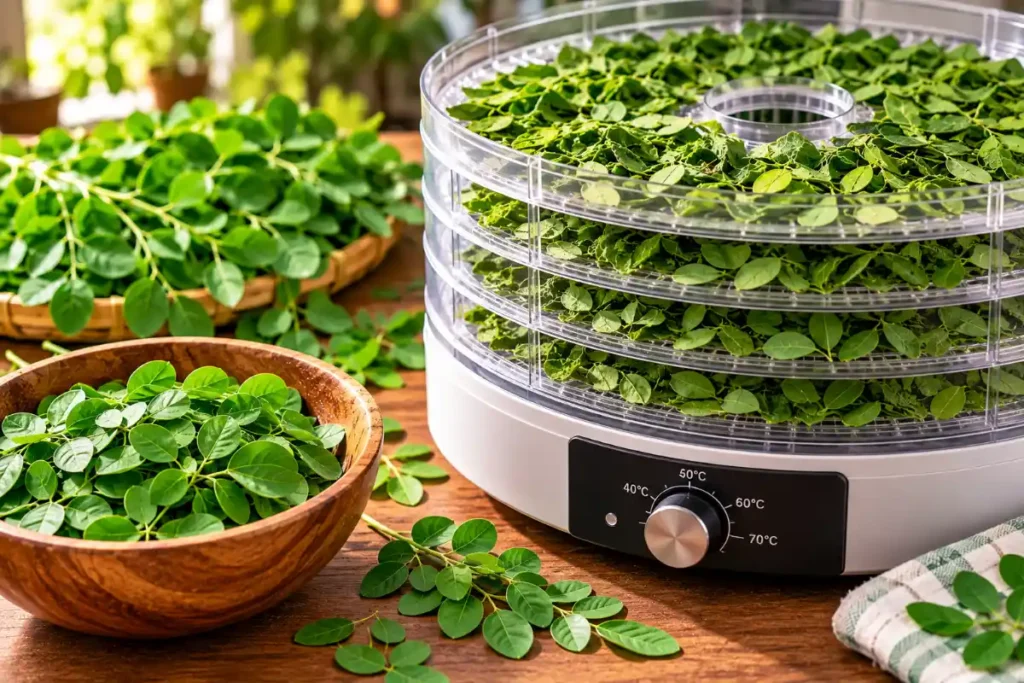
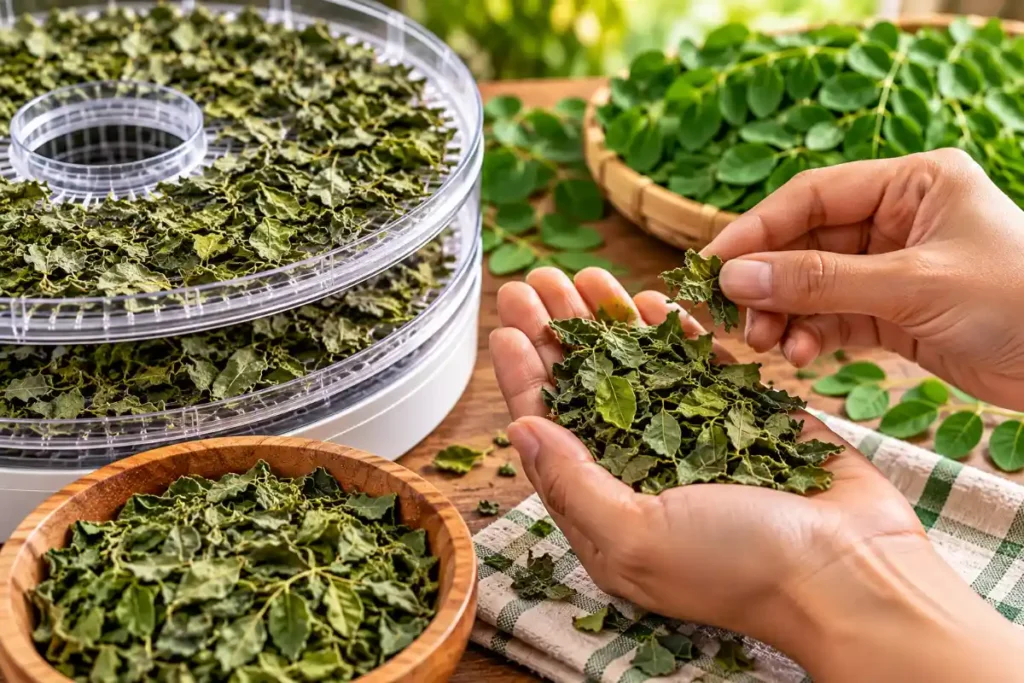
Spread the cleaned leaves in a single layer on the dehydrator trays.
Avoid piling leaves on top of each other.
Set the machine according to its manufacturer’s instructions for leafy herbs or greens. Exact drying conditions can vary between appliances, so there is no need to force one universal time or temperature onto every dehydrator.
Check the leaves periodically.
They are ready when they have become crispy and crumble easily rather than remaining flexible or soft.
NCHFP gives general herb-drying guidance using controlled dehydrator temperatures and recommends checking the leaves periodically; it describes properly dried leaves as crisp and easily crumbled.
Method 3: Drying Moringa Leaves in an Oven
An oven can be used when a dehydrator is not available, but temperature control matters.
Spread the leaves in a single layer on a suitable tray and use the lowest appropriate setting supported by your oven and its manufacturer’s guidance.
Keep the oven door position and airflow consistent with the appliance instructions.
Check the leaves regularly rather than relying only on a clock.
The goal is to remove moisture without scorching the leaves.
A research study comparing drying methods for moringa leaves found that drying conditions can change the leaves’ phytochemical composition, with air drying generally performing better than sun and oven drying in that study.
For a home kitchen, therefore, controlled, gentle drying is preferable to excessive heat.
How Do You Know When Moringa Leaves Are Completely Dry?
Before you make moringa powder, check the leaves carefully.
Properly dried leaves should feel light and crisp. They should crumble easily when pressed rather than feeling soft, leathery or noticeably flexible.
If the leaves still contain significant moisture, continue drying them before grinding. Grinding leaves that are not sufficiently dry can produce a clumpy powder and can make storage more difficult.
This is one of the most important checks in the entire moringa powder making process.
How to Grind Dried Moringa Leaves
Once the leaves are completely dry, you can make moringa powder by grinding them in a clean and completely dry mixer grinder or spice grinder.
Work in small batches instead of filling the grinder completely. Pulse the dried leaves until they turn into a fine or moderately fine powder.
Do not add water or any other liquid during grinding.
If you are learning how to make moringa powder at home, remember that completely dry leaves are much easier to grind than leaves that still contain moisture.
How to Sieve Moringa Powder
After grinding, pass the powder through a clean fine-mesh sieve.
Sieving helps you make moringa powder with a more even texture by separating larger pieces of leaf material from the finer powder.
The larger pieces left in the sieve can be ground again and passed through the sieve once more.
You can choose the final texture according to how you plan to use the powder.
What Should Homemade Moringa Powder Look Like?
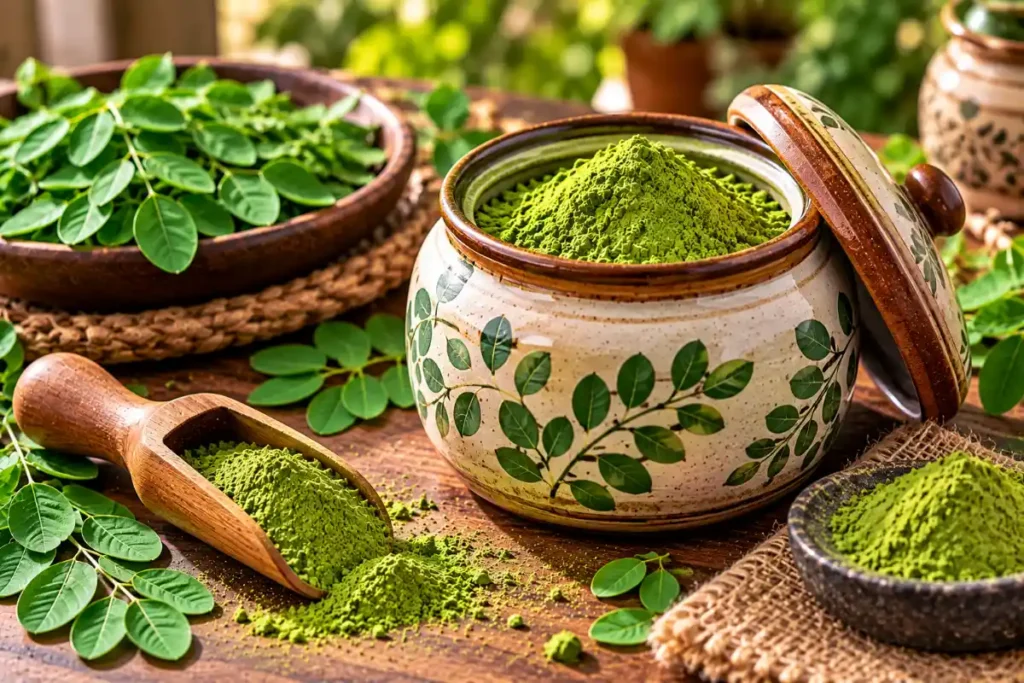
Good homemade moringa powder should be dry, loose and reasonably fine, without obvious wet clumps.
The exact colour can vary depending on the freshness of the leaves, drying method and storage conditions. A natural green appearance is expected, but colour alone should not be used to judge the quality of the powder.
If the powder feels damp or repeatedly forms clumps, check whether the leaves were dried sufficiently before grinding.
How to Store Homemade Moringa Powder
After you make moringa powder, proper storage becomes important.
Transfer it to a clean, completely dry, airtight container.
Keep the container:
- Away from moisture
- Away from steam
- Away from direct sunlight
- In a cool, dry place
- Away from wet utensils
Always use a completely dry spoon.
General food-drying guidance recommends protecting dried foods from moisture and storing them in moisture-proof containers in cool, dark and dry conditions.
There is also a food-safety reason to take moisture seriously. A review of microbiological risks associated with moringa leaf powder identified moisture control and hygienic handling as important measures for reducing contamination risks. You can read the full PubMed review on microbiological risks associated with Moringa oleifera leaf powder for more detail.
PubMed review on microbiological risks associated with Moringa oleifera leaf powder
Internal Link:
👉 How to Store Moringa Powder: Keep It Dry & Fresh/how-to-store-moringa-powder/
How Long Does Homemade Moringa Powder Last?
There is no single guaranteed shelf life for homemade moringa powder because storage conditions can vary considerably.
For better quality, keep the powder in an airtight container in a cool, dry place and protect it from moisture.
Check the powder before use. If you notice unusual moisture, mold, an abnormal smell or other obvious signs of spoilage, discard it rather than using it.
Can You Make Moringa Powder Directly From Fresh Leaves?
Fresh leaves should not simply be ground and stored as powder.
If you want to make moringa powder for storage, the leaves should first be cleaned and dried thoroughly. Fresh leaves contain considerable moisture, which makes them unsuitable for producing a stable dry powder without first removing that moisture.
The basic process is:
Fresh leaves → Clean → Dry completely → Grind → Sieve → Store
Can You Make Moringa Powder Without a Dehydrator?
Yes. You do not need a dehydrator to make moringa powder at home.
You can use a suitable air/shade-drying method or an oven, depending on your environment and equipment.
The key requirement is not the specific appliance. It is making sure the leaves are thoroughly dried before grinding and storing them.
For general home-drying principles, you can also refer to Utah State University Extension’s home drying guidance:
https://extension.usu.edu/preserve-the-harvest/research/home-drying-foods
Homemade Moringa Powder vs Store-Bought Powder
Making your own powder gives you more control over:
- The freshness of the leaves
- Cleaning
- Drying
- Grinding
- Storage
- Batch size
Store-bought powder is more convenient because the preparation has already been done.
If buying commercially prepared powder, check the packaging, storage instructions and product quality rather than choosing solely on price.
For homemade powder, the biggest advantage is knowing exactly how the leaves were handled from beginning to end.
Common Mistakes When Making Moringa Powder
Grinding Before the Leaves Are Fully Dry
This is one of the most common problems.
Moist leaves can produce a poor-textured powder and make storage more difficult.
Drying in Direct Harsh Sun
For leafy herbs, NCHFP recommends avoiding direct sun because it can affect colour and flavour.
Overheating the Leaves
Very high heat can affect colour, flavour and some plant compounds.
Packing Warm Powder Immediately
Let the freshly ground powder cool completely before closing the container.
Using a Damp Container
Even a small amount of moisture can work against the drying process.
Keeping the Jar Near the Stove
Steam and kitchen heat are not ideal for dried powders.
Making a Very Large Batch
If you are trying homemade powder for the first time, a smaller batch is easier to manage and check.
Simple Moringa Powder Making Process
If you want to know how to make moringa powder, the process can be remembered in seven simple steps:
1. Select fresh leaves
Choose clean, healthy leaves.
2. Clean them
Rinse and remove unwanted stems and damaged leaves.
3. Remove excess water
Pat or drain the leaves properly.
4. Dry the leaves
Use suitable air drying, a dehydrator or controlled oven drying.
5. Check dryness
Leaves should be crisp and crumble easily.
6. Grind
Process the dried leaves into a fine powder.
7. Sieve
Remove larger pieces and regrind them if needed.
8. Cool and store
Place the finished powder in a completely dry airtight container.
That’s really all there is to it.
The process is simple, but proper drying and storage make the biggest difference.
How to Use Homemade Moringa Powder
Once you make moringa powder, there are several simple ways to use it in everyday food.
You can add a small amount to:
- Smoothies
- Dal
- Soups
- Curd or chaas
- Chutneys
- Savoury breakfast dishes
- Homemade snacks
For more practical ideas, see our guide on How to Use Moringa Powder:/how-to-use-moringa-powder/
Frequently Asked Questions
How do you make moringa powder at home?
To make moringa powder at home, clean fresh moringa leaves, dry them completely, grind the dried leaves into a powder, sieve the powder and store it in an airtight container.
Can I make moringa powder without a dehydrator?
Yes. You can make moringa powder using suitable air/shade drying or an oven. The important part is ensuring that the leaves are completely dry before grinding.
Can I grind fresh moringa leaves directly?
Fresh leaves contain moisture, so they should be dried before you make moringa powder for storage. Grinding fresh leaves directly is not the same as making a dry, shelf-stable powder.
How do I know moringa leaves are dry enough to grind?
The leaves should feel dry and crisp and should crumble easily rather than bend or feel leathery.
What is the best way to store homemade moringa powder?
After you make moringa powder, store it in a clean, dry and airtight container away from moisture, heat and direct sunlight.
Final Thoughts
Learning how to make moringa powder at home does not require complicated equipment. The basic process is straightforward: clean the leaves, dry them thoroughly, grind them, sieve the powder and store it properly.
The most important step is thorough drying. If you take care of moisture control and clean handling, the homemade powder can be much easier to use and store.
For the next step, you can explore how to use moringa powder in everyday food and drinks.